Get the most out of presets
Congratulations on getting your new presets! I am very happy to see you here and using my presets. Thank you, dear creative. Every single photo you see from me is edited with one of the presets I´ve created, and now you are about to enter this world of mine. I am excited! Here are the tools to create magical edits to your photos. After all, editing is the one that makes ordinary photos look fascinating. That is why I am very pleased that you chose my presets. I love every single one of them, and I want you to enjoy the presets as much as I do. That´s why I created this guide. Here I provide you with tips on how I use the presets and what kind of edits I make after applying the preset. Since editing the preset is important to make it fit seamlessly with your photo.
Installation guides
This is how I use the presets
I won´t leave you alone with the presets. I am here to help you! Over the years, I have heard that people get disappointed after purchasing presets from a photographer they love because the preset is not making their photos look like they imagined. I don´t want you to feel that way. Instead, I take your hand and together we will find a way to make it look perfect. But first, let me explain to you why there is a chance that the preset is not looking perfect right away and why some small editing tweaks need to be made.
Exposure
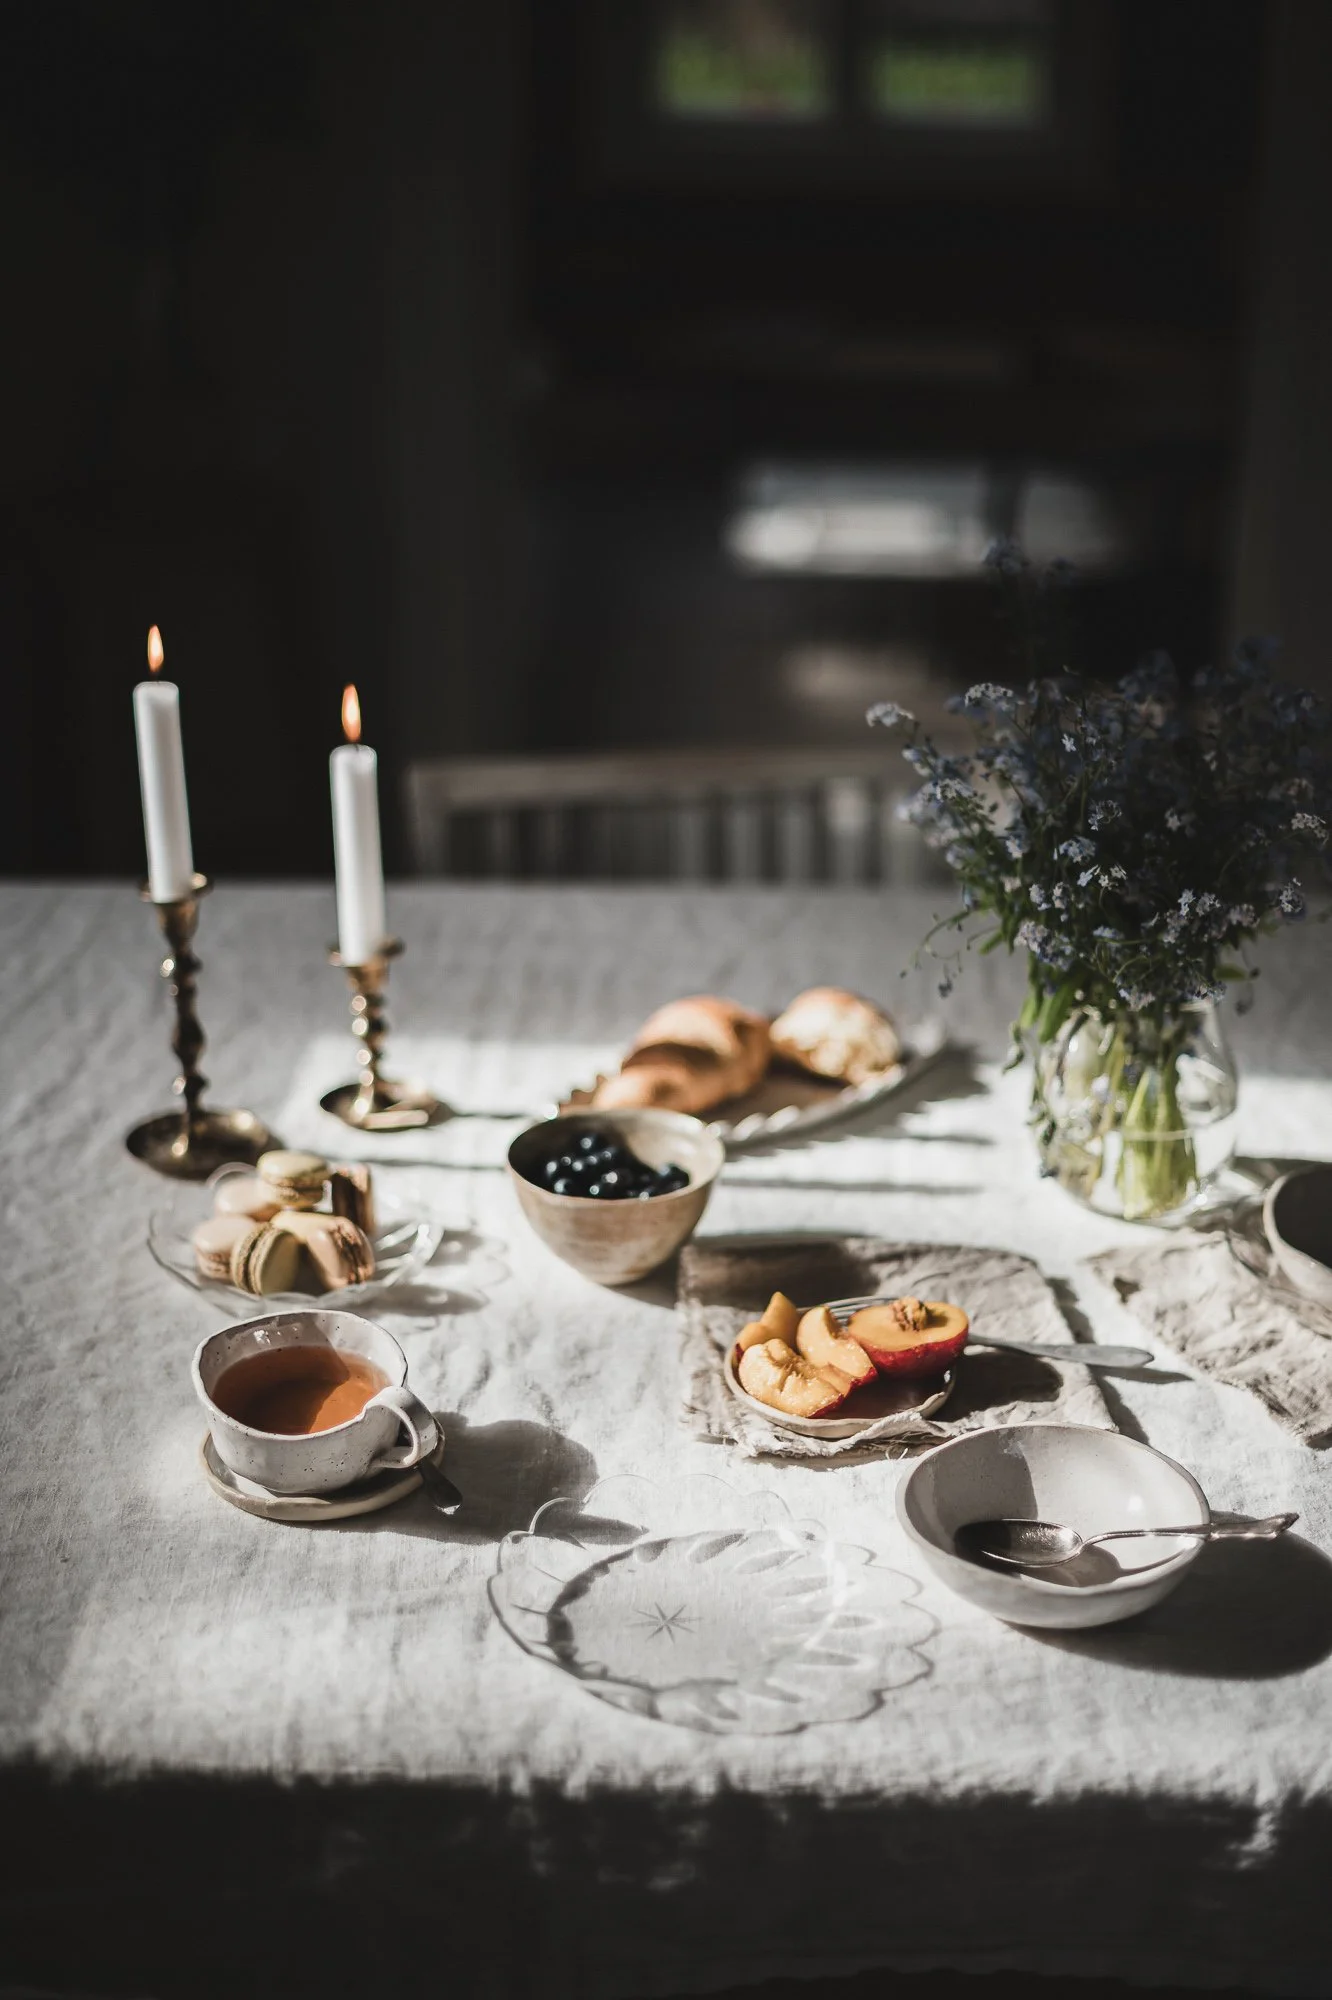
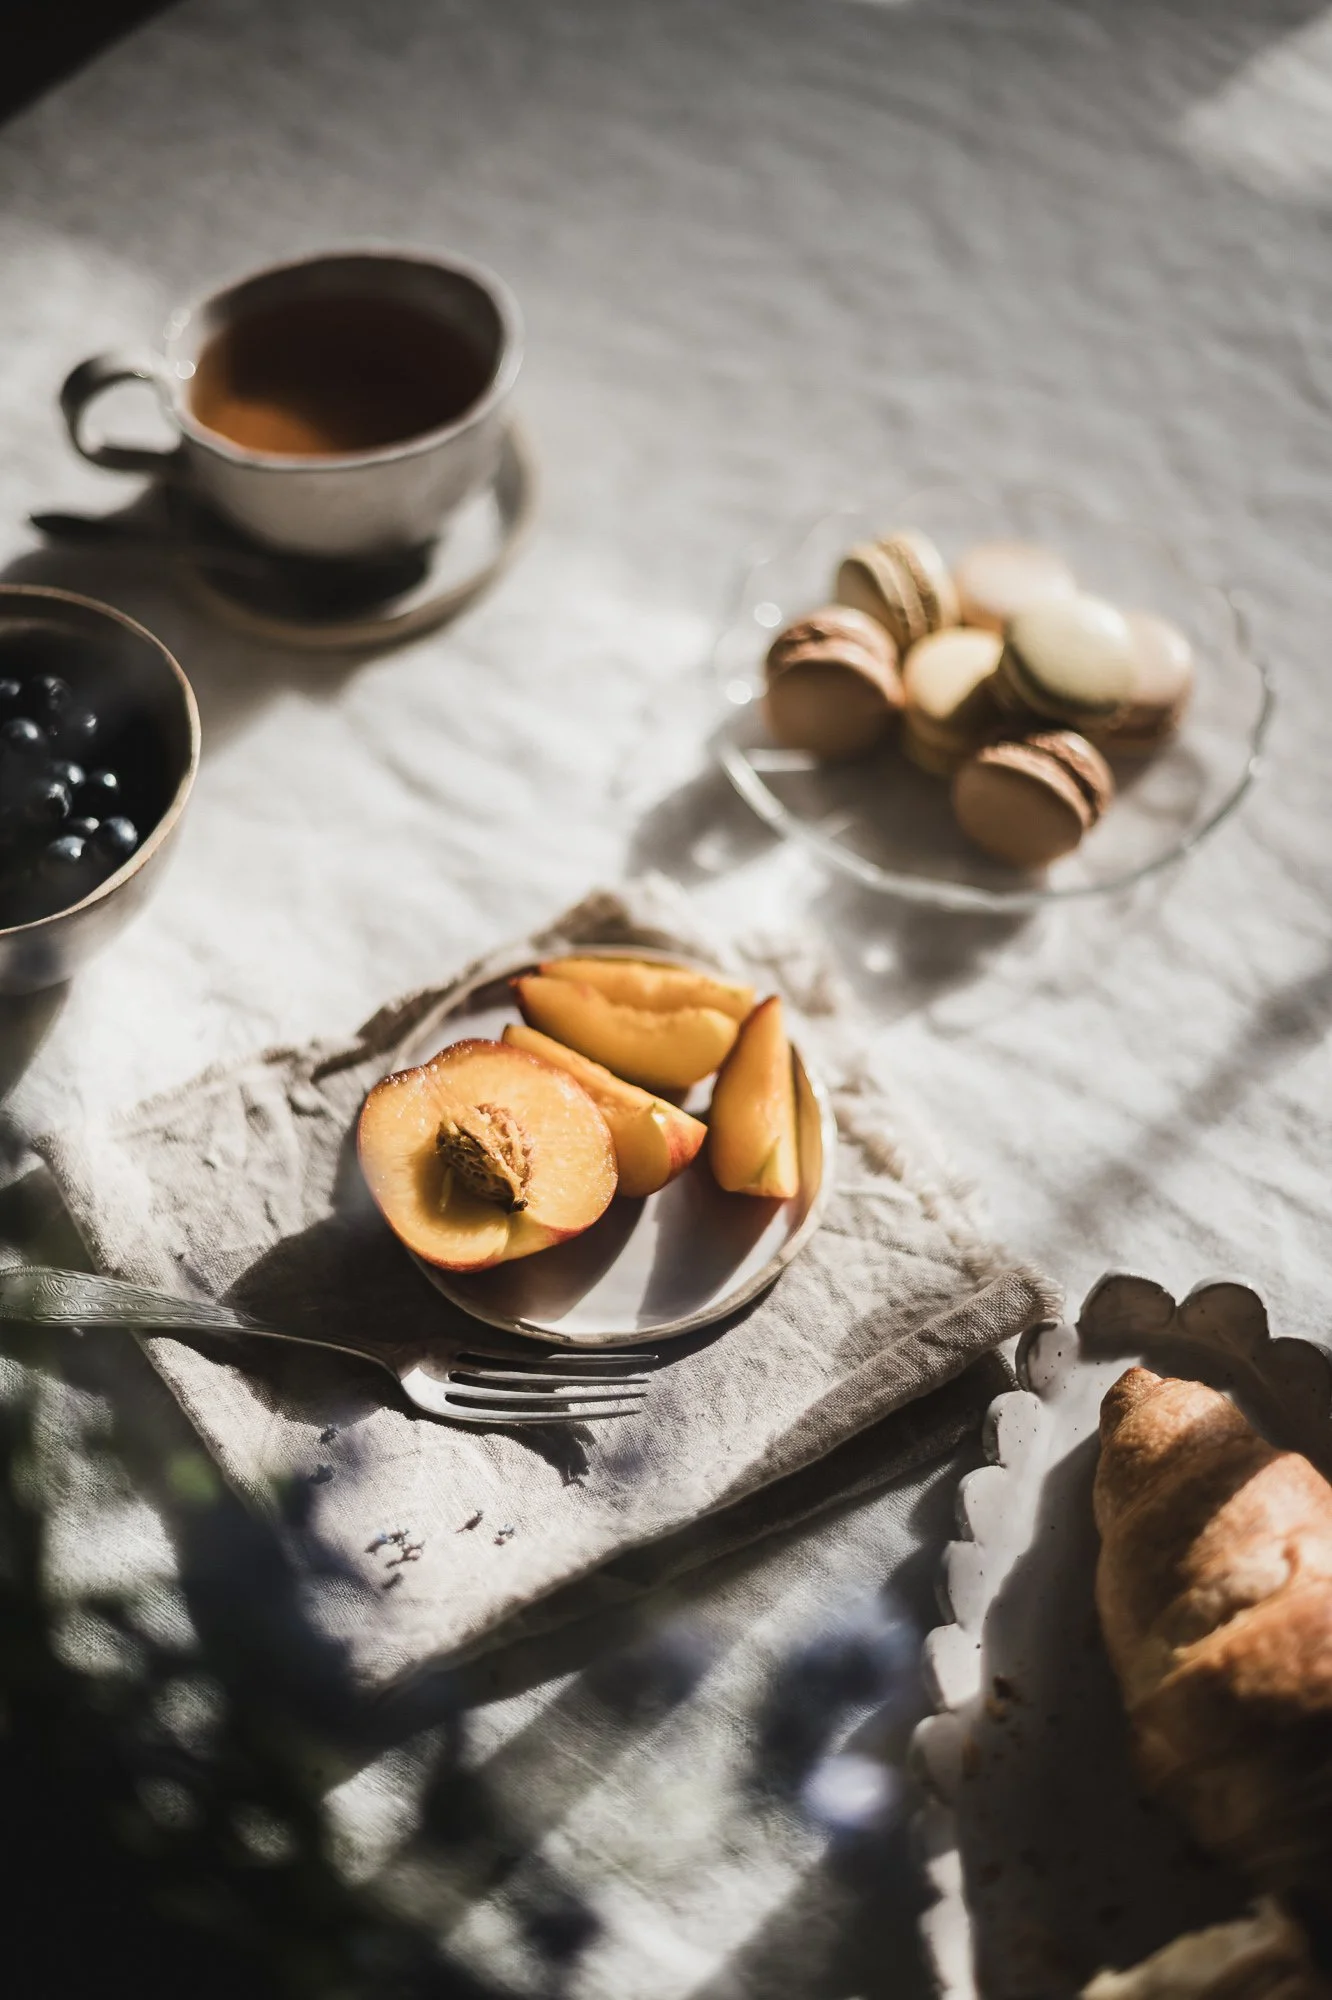
Each photo you take is unique in terms of light. Exposure is the amount of light in your photo. Some photos are dark, meaning that they are low in exposure, and others are bright and light with lots of exposure. The light condition while you photograph has an impact on the exposure of the photo. Let me give you an example. Imagine that the sun is shining, and you take a photo of your ice cream in the sunshine. The light is bright and strong. Then you move under a tree and take another photo. All of a sudden, you are in the shade and there is less light. You can control the light by adjusting your camera settings or adding exposure on your phone, but still, the light is not creating strong shadows and light areas.
So you end up having two very different photos. A photo that is full of light and strong contrast, and an image that has softer light with less contrast. When the light is this different, it is not possible that one editing setting would look perfect on both of these images. A photo taken in the sunlight requires editing settings that weaken exposure because it is so bright. On the other hand, that shadow photo might require more exposure because it is so dark. So when you apply a preset, it is highly possible that one of these photos might not look perfect. If the preset is done for soft light and cloudy days, the amount of exposure in the preset might be too much for the sunshine photo.
The amount of exposure you wish to have in your photos is considered a personal preference and your signature style. Some are more into bright photos, and others tend to shoot darker images. The preset serves both of these desires. After applying the preset, you can adjust the exposure the way you like. If the preset makes the photo too light, you can make the photo darker by taking off some exposure. On the other hand, too dark photos can be fixed by adding more exposure to them.
Temperature
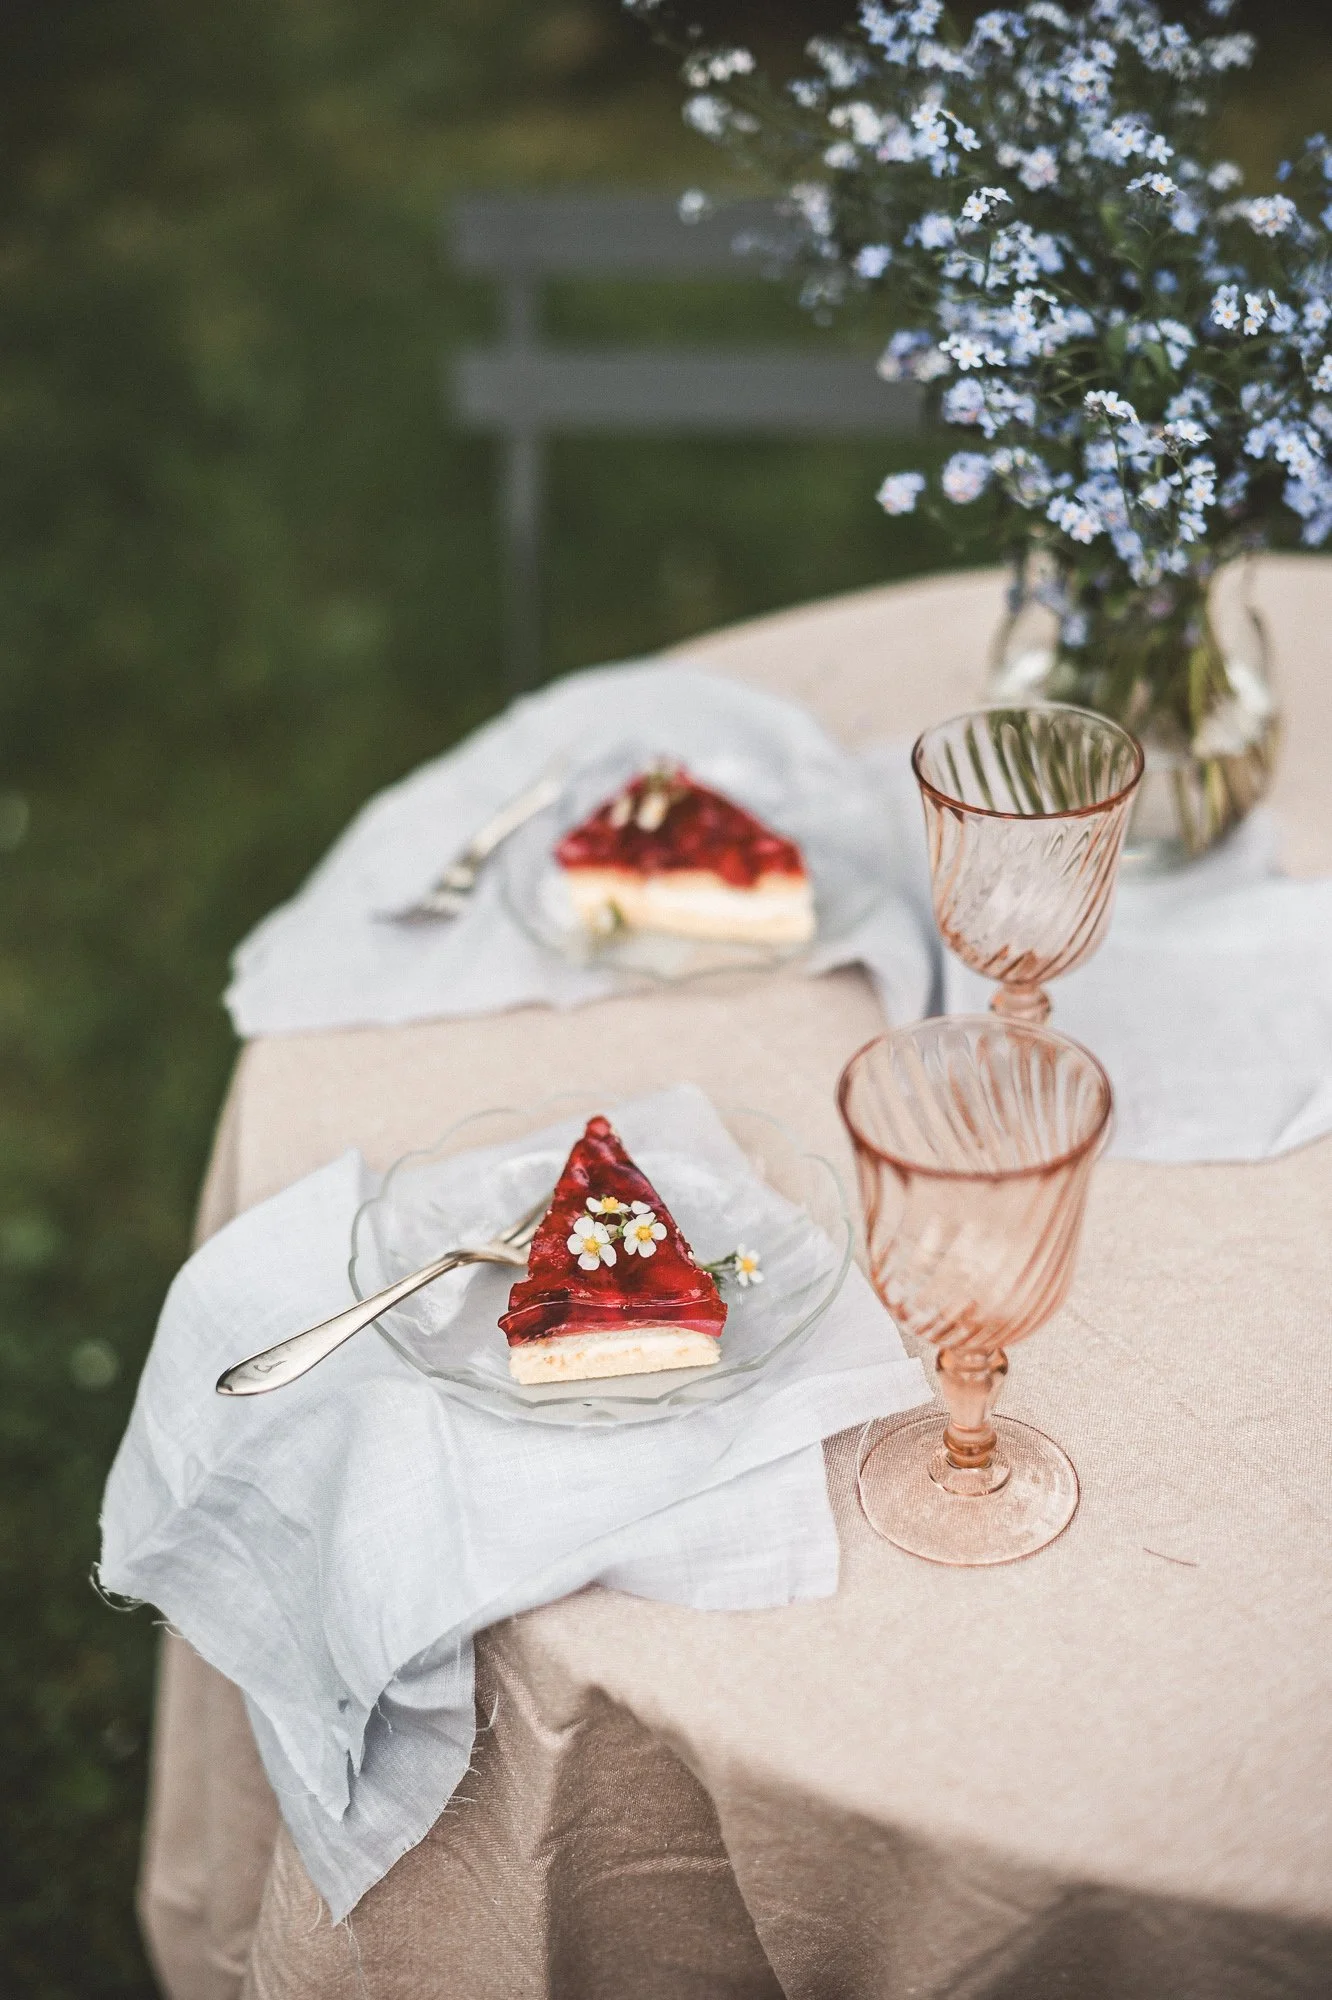
Light also has a color that is called a temperature. It can be warm, neutral, or cool. The weather has an impact on how the light appears. On a sunny day, the light is yellow, orange, or even red depending on the time of day. This is when the light is warm. On a cloudy day, the tones are cooler or neutral. In addition to the weather, the location where you shoot affects the result of how warm or cool the light is. The temperature in editing settings goes from blue to yellow. The neutral tones are in the middle of the spectrum.
Like the amount of light, the temperature in the photo is also up to your style. I recommend that you stay loyal to your soul and style while using the presets. That way, you create photos that feel right to you. Let the preset help you to get started, and then make your little adjustments on top of it.
If the preset makes the photo blue, you need to add more warmth. This is done by adjusting the temperature more towards the yellow side of the spectrum. In case the preset makes the photo too yellow, you should add more blue. Adjust the temperature more towards the blue side. Very often, just a small adjustment is enough, there is hardly ever a need to go from one end of the spectrum to another.
Adjust the amount of preset
There are times when you wish to add a small touch of magic to your photo, but the preset feels a bit too much. That´s when you can decrease the power of the preset. Use the slider to determine how much preset you wish to include in the photo. By decreasing the amount of preset that is being applied to the photo, you can still enjoy the edits of a preset with a more gentle touch.
The preset is not looking perfect, what to do?
Before feeling worried that this was a mistake, the preset will never look good. Take a long breath and trust me, everything will be alright, and soon you will have beautiful edits made just for you. You can edit every preset to make it work in your images. No matter how it looks after applying the preset. My aim is always to make my presets look beautiful in your photos. As you have learned already that it is impossible to create a one setting that would fit all light moments. So, if the preset is not looking as it should, take a moment to analyze the photo. After this, I promise you not only have a gorgeous preset to use in your photos, but also an eye to see what is off in the photo. That way, you know what you need to edit every time you capture your stunning photos.
Look at your photo closely, step by step, and analyze your desires for it through these questions. Keep in mind that there might be multiple features that need to be adjusted.
What is the first thing that caught your eye that doesn´t look right in your photo?
-
Use the exposure tool and adjust it to the left to decrease the exposure.
-
Use the exposure tool and adjust it to the right to add more light to the photo.
-
Use the temperature tool and adjust it to the left toward the blue side.
-
Use the temperature tool to adjust the color to the warmer side toward the yellow end of the spectrum.
-
Use the tint tool and adjust it to the left toward the green side of the spectrum.
-
Use the tint tool and adjust it to the right side toward the purple color.
-
Use the saturation tool and adjust it to the right to increase saturation.
-
Analyze what is the thing that bothers you or doesn´t fit into your style. All adjustments in the presets are customizable. For example, if you don´t like the grain, remove it under effects → grain.